Guide · 3D & VR
Capturing a real place in 3D: a field checklist
Everything to decide, check and bring before you scan, photograph or fly, so you do not have to return to the site.
Intermediate7 min read
Key takeaways
- Decide what the model is for first. The purpose sets the detail, the accuracy and the method.
- Permissions, weather, light and safety are part of the plan, not afterthoughts.
- Overlap, control points and a quick check on site prevent most failed captures.
- Write down the deliverables and the handover before the first photo is taken.
Capturing a real place, whether a heritage temple, a hotel, a factory or a stretch of river, is one of the few jobs in digital work where you cannot simply fix a mistake later. If the light was wrong, the drone battery died or a wall was missed, the only remedy is to go back. A good checklist is the cheapest insurance there is.
This guide follows a capture from first question to handover. It suits drone photography, ground photography and laser scanning, and notes where they differ.
Step 1: define the purpose
Before anything else, write one sentence about how the model will be used. A virtual tour for visitors, a record for conservation, a base for a digital twin and a measured survey need very different things.
- Tour or marketing: it needs to look beautiful and load quickly. Moderate accuracy is fine.
- Conservation record: it needs high detail, consistent lighting and careful documentation of the date and method.
- Measurement and planning: it needs surveyed control points and a stated accuracy.
- Training or simulation: it needs correct scale and clean geometry that an engine can use.
Then write the smallest feature that must be visible, such as a carved detail, a crack or a doorway, and the accuracy needed in centimetres. These two numbers decide almost every later choice.
Step 2: choose the method
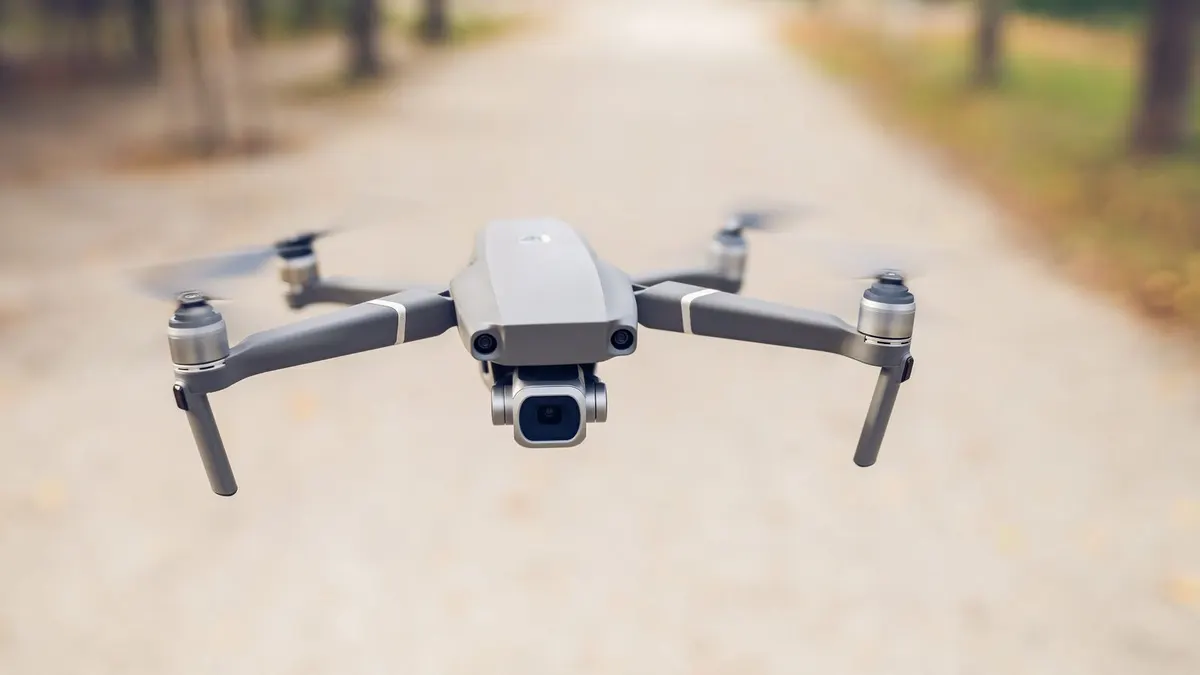
- Drone photogrammetry: efficient for roofs, facades, terrain and large outdoor sites. It gives colour and good detail, and needs open sky and good light.
- Ground photogrammetry: for objects, interiors and details that a drone cannot reach. It needs patience and consistent coverage.
- Terrestrial laser scanning: precise geometry, fast on large interiors, and indifferent to poor light. It costs more and records colour separately.
- Mobile LiDAR on a phone or handheld scanner: quick, and suited to rooms and small sites, with lower accuracy.
- 360 degree photography: for immersive tours where measurement does not matter.
Many projects combine two, for example a drone for the exterior and a scanner for the interior, tied together by shared control points.
Step 3: permissions and people
- Owner or authority consent in writing, including what you may publish.
- Aviation rules for drones: registration, permitted areas, height limits, and the need for a licensed pilot. Rules differ by country and change often, so check locally.
- Heritage and religious sites: follow their customs, ask about restricted areas and avoid disturbing worship or visitors.
- Privacy: plan to blur faces and number plates, or to capture when the place is empty.
- Neighbours and the public: tell people what you are doing, especially when flying.
Step 4: weather, light and timing
- Overcast days give soft, even light and are ideal for photogrammetry. Hard shadows that move during the capture confuse matching.
- Avoid wind for drones, rain for equipment, and glare on water and glass.
- Plan for a time of day when the sun is high enough to avoid long shadows, and when the site is quiet.
- Have a backup day. Weather often decides.
Step 5: equipment checklist
- Cameras or drones, with spare batteries, memory cards and chargers, and a power bank.
- Tripod, lens cloths, lens hoods and a spare lens or camera.
- Laser scanner, targets or spheres, and a stable base if scanning.
- Ground control: marked targets, a GNSS receiver or a total station, and a tape or laser distance meter.
- A scale bar or known-length object in the scene for checking.
- Tablet or laptop with enough storage for a preview on site.
- Safety gear: high-visibility clothing, helmet, first-aid kit and a radio or phone.
Step 6: capture settings that matter
- 01Use manual, fixed settings, so that exposure and focus do not change between photos. Lock white balance too.
- 02Shoot sharp images: a fast enough shutter speed, low enough ISO and a steady camera.
- 03Overlap generously: about 70 to 80 percent along the direction of travel and 60 to 70 percent between lines for drone mapping, and about 60 to 80 percent when walking around an object.
- 04Capture from several heights and angles. Add oblique views for facades and details.
- 05For laser scanning, place stations so each overlaps the last, and so that every surface is seen from at least two positions.
- 06Photograph the hard parts twice: reflective surfaces, narrow passages and anything partly hidden.
Step 7: control points and scale
Without reference points, a model has the right shape but may sit in the wrong place and at the wrong scale. Spread control points across the whole site, including the edges and different heights, and measure them with a method more accurate than the accuracy you promise. Keep a few as check points that are not used in processing, so that you can test the result honestly.
Step 8: check before you leave
- Open a few photos at full size on a screen. Are they sharp and well exposed?
- Run a quick, low-quality processing pass on site if you can, to find holes in coverage.
- Check the count: does the number of images or scans match the plan?
- Walk the site one more time, looking for anything you did not capture.
- Back up all data to two places before packing up.
Step 9: record and hand over
Keep a simple capture log: date, time, weather, equipment, settings, who did what and any problems. It is invaluable months later, when someone asks why part of the model looks different. Agree the deliverables in advance too.
- Formats: for example a web-ready model, a full-detail model, point clouds and an orthomosaic.
- Coordinates and units: the system, the height reference and the units, stated clearly.
- Accuracy: what was measured against what, with the numbers.
- Licence and usage: who owns the data and how it may be used.
- Storage: where raw data will be kept, and for how long.
A short worked example: a hilltop temple
A conservation team wants a record of a small temple and a model for a visitor centre. They define two outputs: a full-detail model for the archive and a lightweight one for the web. They choose a drone for the roofs and surroundings, ground photography for carved doorways and a handheld scanner for the interior. They get written consent from the temple committee, avoid festival days and plan to capture early, when worshippers are few. They fly under overcast skies at 70 percent overlap, place eight control targets on the courtyard and survey them, and shoot the carvings twice at different distances. Before leaving, they process a quick preview, find that the north wall is thin on photos and take 40 more. The preview model closes without gaps, and the log and the control measurements go into the archive.
Frequently asked questions
- How many photos do I need?
- It depends on the size and the detail. A small building may need a few hundred photos, and a large site thousands. Coverage and overlap matter more than the count.
- Can I capture with only a phone?
- Yes, for objects, rooms and small sites. Keep settings fixed, move steadily and cover from many angles. For measured work, add control points.
- How long does processing take?
- From minutes for a small model to many hours or days for a large site, depending on the number of images and the computer. Plan for it in your schedule.
- Do I need control points for a visitor tour?
- Not for appearance. You do if the model must sit accurately on a map, be measured or be combined with other data.
A careful capture feels slow on the day and saves weeks afterwards. Plan the purpose, the permissions, the light and the checks, and the model you build later will be one that you trust.
Join the conversation
Reactions & comments
Comments are opening soon.
In the meantime, tell us what you think by email at info.istem.lab@gmail.com.