Tutorial · 3D & VR
Capture a place and turn it into a Gaussian splat
Film a scene, train a splat with open-source tools, clean it and view it in your browser, with the pitfalls to avoid.
Intermediate7 min read
Key takeaways
- A steady, well-lit walk-around video is enough to start.
- Open-source tools handle camera solving, training and export from a few commands.
- You need a graphics card for training, or a cloud notebook or hosted service if you do not have one.
- Clean and crop the result before sharing, and be clear that it is a visual reconstruction.
Making a Gaussian splat used to require a research lab. Today you can do it from a phone video and a free toolchain in an afternoon. This tutorial takes you from filming a scene to a splat that you can orbit in a browser, and explains each decision, so that you can repeat it with confidence.
Tools in this area change every few months. The ideas stay the same, and the commands below show the usual shape of the workflow. If a command has changed, check the tool’s own documentation.
What you need
- A phone or camera that records sharp video. Fixed exposure helps if your device allows it.
- A computer with a recent NVIDIA graphics card and the CUDA software for training, or a cloud notebook with a GPU, or a hosted service that trains for you.
- Python and the Nerfstudio toolkit, which includes a splat method called splatfacto.
- COLMAP and FFmpeg, used to solve camera positions and extract frames.
- A browser-based splat editor and viewer for cleaning and sharing the result.
Step 1: choose a good subject
- Start with something modest: a statue, a doorway, a small room or a garden corner.
- Pick a place with plenty of texture. Plain white walls, mirrors and large panes of glass are difficult.
- Choose a quiet time. Moving people and traffic leave ghosts.
- Soft, even light, such as an overcast day, gives the best colour consistency.
Step 2: film it properly
- 01Hold the phone steady, in landscape, with the camera at a fixed zoom.
- 02Walk slowly around the subject in a full circle at about chest height, keeping it in the frame.
- 03Repeat the circle higher, then lower, tilting the camera to keep the subject in view.
- 04For rooms, walk the edges, and then cross the middle, and look around, covering corners and ceilings.
- 05Record 1 to 3 minutes. Quality matters more than length, and shaky or blurred frames hurt the result.
Step 3: install the tools
Create a clean Python environment, install a CUDA-enabled build of PyTorch that matches your driver, and then install Nerfstudio. The project’s installation page lists the exact steps for your operating system. After installing, check that the command-line tools respond.
ns-train --helpStep 4: solve the cameras
The first processing step extracts frames from your video and works out where the camera was for each one. It produces a folder with images and a file of camera positions.
ns-process-data video --data capture.mp4 --output-dir processedRead the output messages. If the tool reports that it matched only a small fraction of the frames, your video probably has too little texture, too much motion or too little overlap. Re-shoot before moving on, because training cannot repair failed camera solutions.
Step 5: train the splat
ns-train splatfacto --data processedTraining prints progress and a web address for a live viewer, which is typically on your own computer. Open it, and watch the scene come into focus as the blobs settle. For a small scene, it usually takes from a few minutes to under an hour, depending on your graphics card. You can stop when the picture stops improving.
- Out of memory errors mean the scene or image size is too large for your card. Reduce the image resolution or the number of frames.
- A very blurry result means the camera solution or the photos were poor.
- Slow progress usually means that the graphics card is not being used. Check the CUDA installation.
Step 6: export the result
Training saves a configuration file in an outputs folder. Point the export command at it to produce a splat file.
ns-export gaussian-splat --load-config outputs/processed/splatfacto/<run-name>/config.yml --output-dir exports/splatYou should get a file ending in .ply. It is large, often tens or hundreds of megabytes, because it stores every blob.
Step 7: clean it up in a browser editor
Open a browser-based splat editor, such as the free SuperSplat tool, and drag the file in. A raw splat nearly always needs tidying.
- 01Crop away the background that you do not need. A tight box makes a smaller, cleaner scene.
- 02Select and delete floaters, the stray blobs in mid-air.
- 03Rotate and position the scene so that the floor is level and the origin is sensible.
- 04Check from several viewpoints, especially from the angles that your audience will use.
- 05Export a compressed version for the web if the editor offers one.
Step 8: share it
- Host the file on any static host, and open it in a splat viewer, or embed a viewer in your page.
- Use a compressed format to cut the download size, and test on a phone over a slow connection.
- Add a still preview image, so that the page is not blank while the file loads.
- Label it honestly: say when it was captured, and that it is a visual reconstruction, not a survey.
If you do not have a graphics card
- Use a cloud notebook that offers a GPU. Several services provide notebooks with a graphics card for hours at a time, free or low-cost, and the same commands work there.
- Use a hosted service that takes a video and returns a splat. It is easy, but check where your footage is stored and who owns the result.
- Capture now, and train later. Keep the original video in a safe place.
Improving your results
- Capture more, and more evenly. Gaps in coverage are the commonest cause of ugly regions.
- Lock exposure and white balance, so the colours match from frame to frame.
- Use a gimbal or stabilised video to reduce blur.
- Add a few extra passes around the details that matter.
- Try a longer training run, or higher resolution, once the basic result is sound.
What to be careful about
- Privacy: remove or blur identifiable people and number plates before publishing, or capture when the place is empty.
- Permission: get the owner’s consent to capture and publish, particularly for private property and heritage sites.
- Honesty: do not use a splat as evidence of measurements or condition unless it has been checked against a survey.
- Storage: keep the raw video and the camera solution so that you can reprocess when better tools arrive.
Frequently asked questions
- How long should the video be?
- One to three minutes of slow, sharp footage is a good start for a small subject. More is not always better if the extra frames are blurry.
- Can I use a drone?
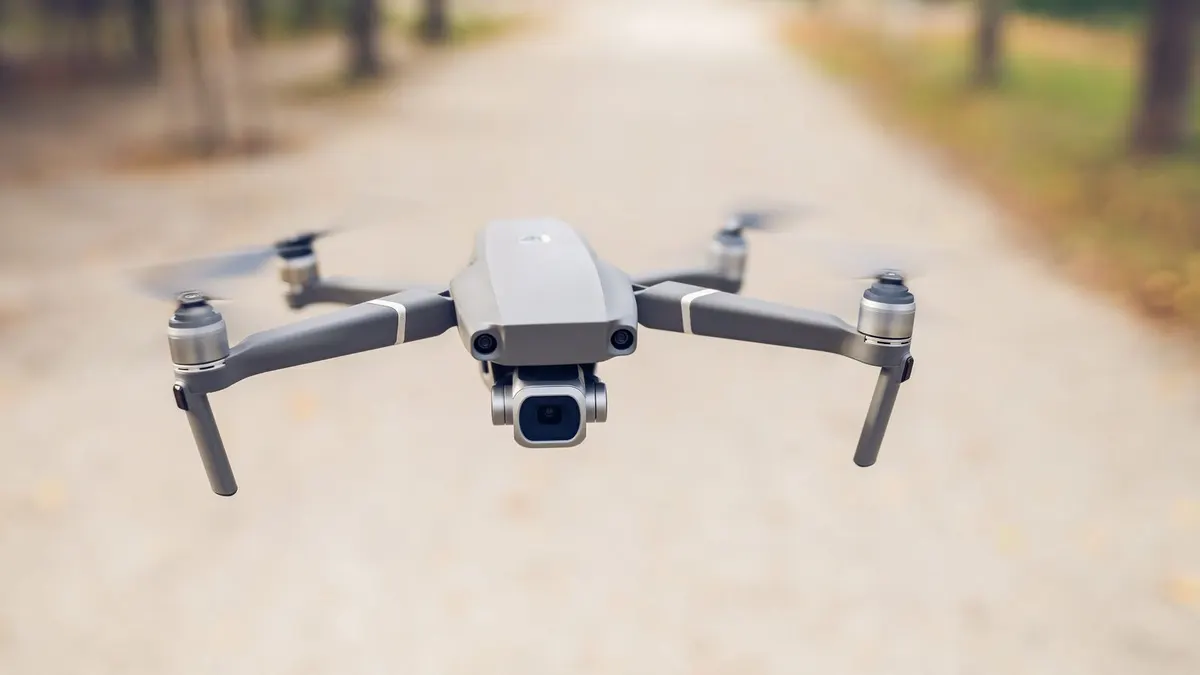
- Yes. Drone video suits large outdoor scenes. Keep the flight slow, and cover the subject from several heights and angles.
- Why does my splat look blurry up close?
- Either the photos did not capture that detail, or the area was only seen from far away. Capture closer passes for the parts that matter.
- Do I need to know machine learning?
- No. The tools handle it. Understanding the ideas helps you diagnose problems, but you can make good splats without writing any code.
In an afternoon you have gone from a walk with a phone to an explorable, photoreal 3D scene. The craft is in the capture, and the rest is patient tidying. Practise on small subjects, and you will soon know what works.
Join the conversation
Reactions & comments
Comments are opening soon.
In the meantime, tell us what you think by email at info.istem.lab@gmail.com.